
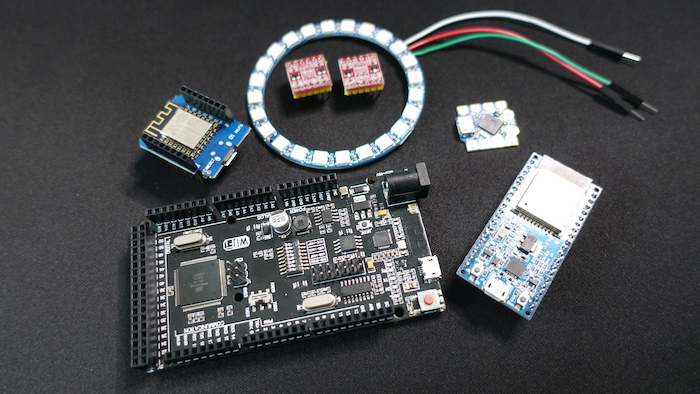
I have been wanting to get into IOT for a while now, so when my previous employer gave me a very generous gift card for Jaycar I went to their store and filled that shopping cart with all the development boards I could find.😄
Obviously I need to work on my impulse control…
Amazon has a pretty awesome blog post on how to build and AWS IOT Core device using AWS serverless and an ESP32 here.
But thats using the ardiuno core on the ESP32 which is based on C++.
In the blog post the message is deserialized using the Arduino C++ JSON library, and while this is fine for getting basic strings, when you work with more complex data structures the difficulty level of the JSON lib ramps up very quickly
MessageHandler from AWS blog post:
1
2
3
4
5
6
7
8
9
10
void messageHandler(String &topic, String &payload) {
  Serial.println("incoming: " + topic + " - " + payload);
  // deserialize json
  StaticJsonDocument<200> doc;
  deserializeJson(doc, payload);
  String message = doc["message"];
  // Print the message on the thermal printer
  printer.println(message);
  printer.feed(2);
}
Suppose we want to deserialize an array, you would need to define an expression for computing the array size seperately like in the folowing example from the Arduino JSON deserialization docs:
1
2
3
4
5
6
7
8
9
10
11
12
13
14
15
16
// Put the JSON input in memory (shortened)
char input[] = "[{\"name\":\"ArduinoJson\",\"stargazers\":...";
// Compute the required size
const int capacity = JSON_ARRAY_SIZE(2)
  + 2*JSON_OBJECT_SIZE(3)
  + 4*JSON_OBJECT_SIZE(1);
// Allocate the JsonDocument
StaticJsonDocument doc;
// Parse the JSON input
DeserializationError err = deserializeJson(doc, input);
// Parse succeeded?
if (err) {
  Serial.print(F("deserializeJson() returned "));
  Serial.println(err.f_str());
return;
}
There is nothing wrong with a bit of complexity, but I am very fond of the way Python’s JSON library lets me work with complex data structures.
Enter MicroPython…
From the authors website: “MicroPython is a lean and efficient implementation of the Python 3 programming language that includes a small subset of the Python standard library and is optimised to run on microcontrollers and in constrained environments.”
Python on my embedded development board? yes please!

Flashing MicroPython on an ESP32.
- Get the ESPTOOL and install it on your environment using the GIT Repository. or install it using
pip install esptool - Download the latest MicroPython firmware image from the MicroPython esp32 download page. Generic ESP32 firmware here.
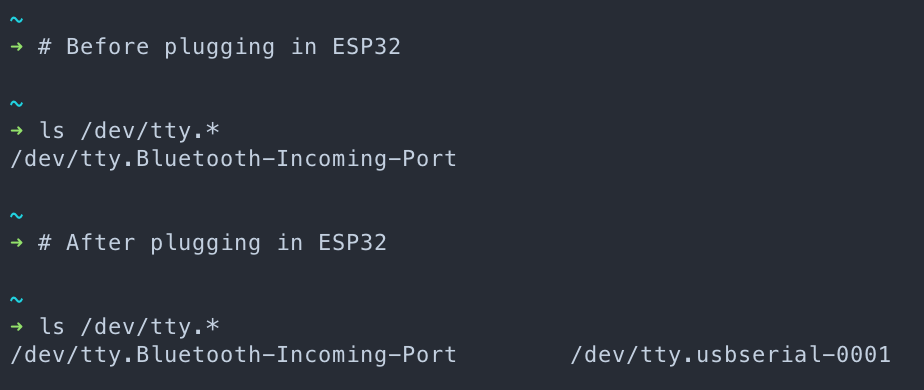
- Find the serial port used by the board.
- On macOS I simply list the TTY devices in /dev before and after I plug in the board, my serial device is:
/dev/tty.usbserial-0001![find_serial.png]()
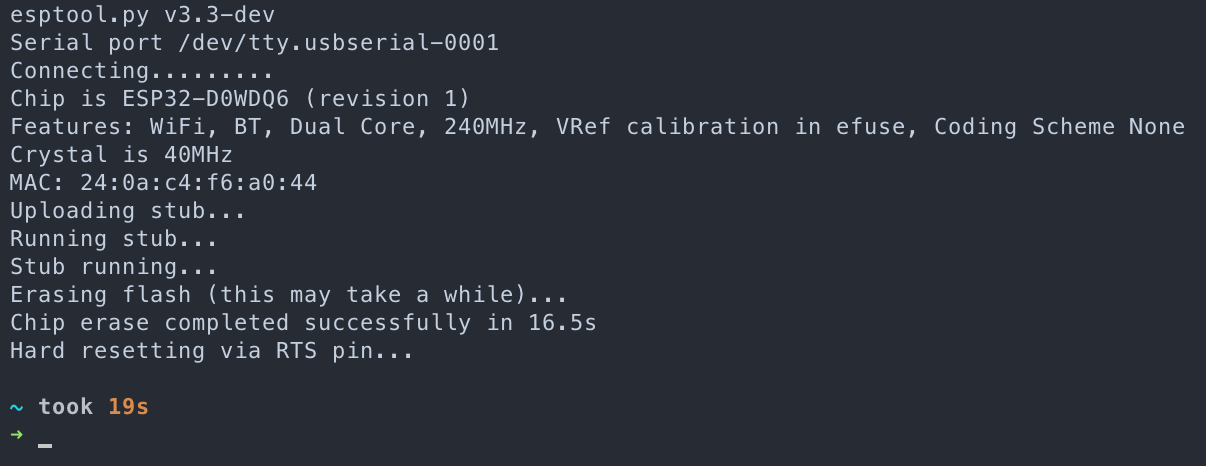
- Erase the firmware loaded on the board:
1
esptool.py --chip esp32 --port /dev/tty.usbserial-0001 erase_flash
You might have to push the “boot” button depending on your board type…
![erase_flash.png]() Chip erase completed succesfully.
Chip erase completed succesfully. - Flash the firmware to your board:
1
esptool.py --chip esp32 --port /dev/tty.usbserial-0001 --baud 460800 write_flash -z 0x1000 esp32-20210902-v1.17.bin
![flash_micropython.png]() Hash of data verified implies success.
Hash of data verified implies success.
 Chip erase completed succesfully.
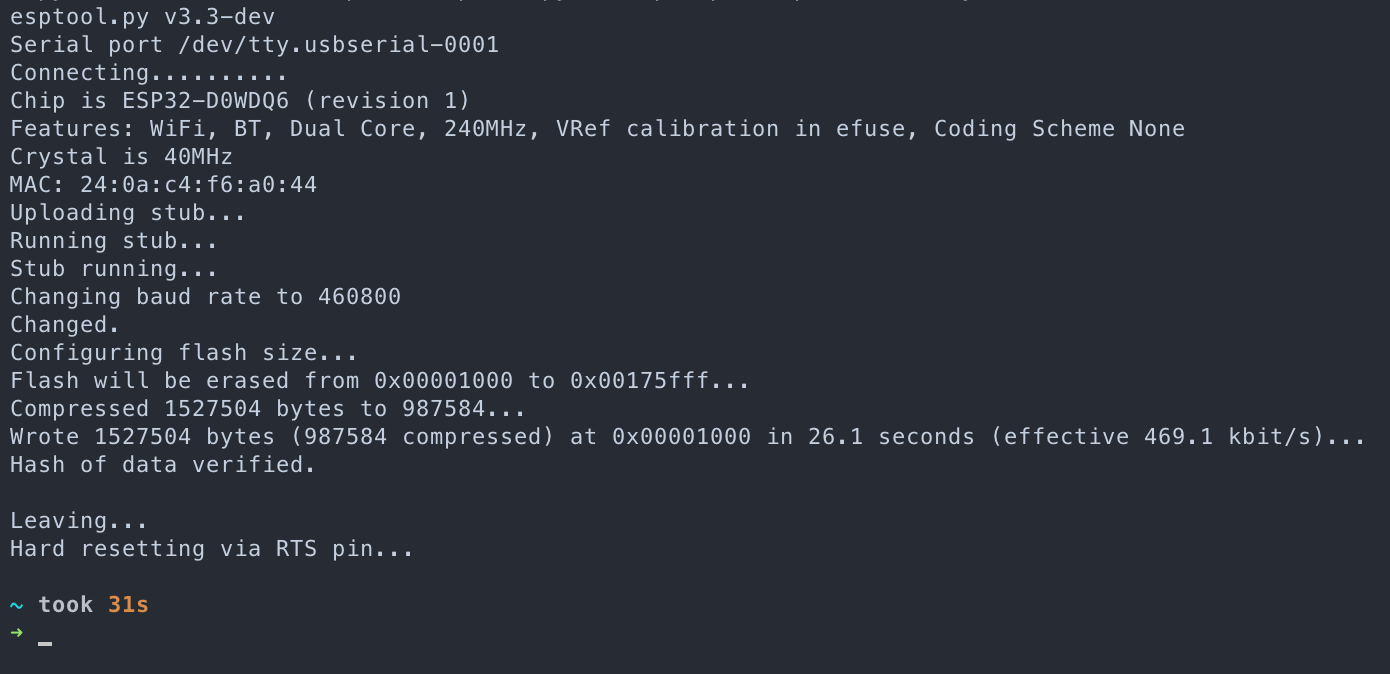 Hash of data verified implies success.
To test if the firmware has been flashed succesfully, I am going to connect to the serial port directly using “screen”
1
screen -port /dev/tty.usbserial-0001 115200
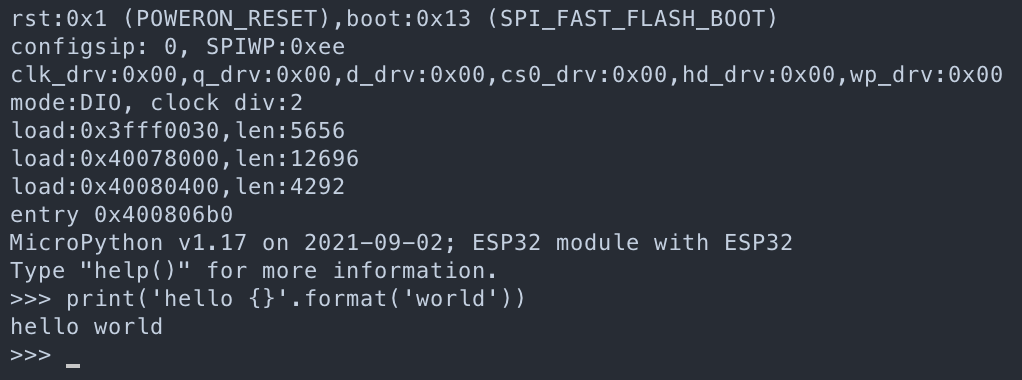
SUCCESS!!! We have python!
Getting a code deployment workflow set up.
Traditionaly on an ESP32 or other arduino compatible board, you would use the arduino IDE to write and deploy code over serial. With MicroPython things are a bit different. In order to deploy new code to the board I am going to be using “Rshell”. “Rshell is a simple shell which runs on the host and uses MicroPython’s raw-REPL to send python snippets to the pyboard in order to get filesystem information, and to copy files to and from MicroPython’s filesystem.”
To install either clone the git Repository or install using pip pip install rshell
Now use rshell to connect to the board:
1
rshell -p /dev/tty.usbserial-0001
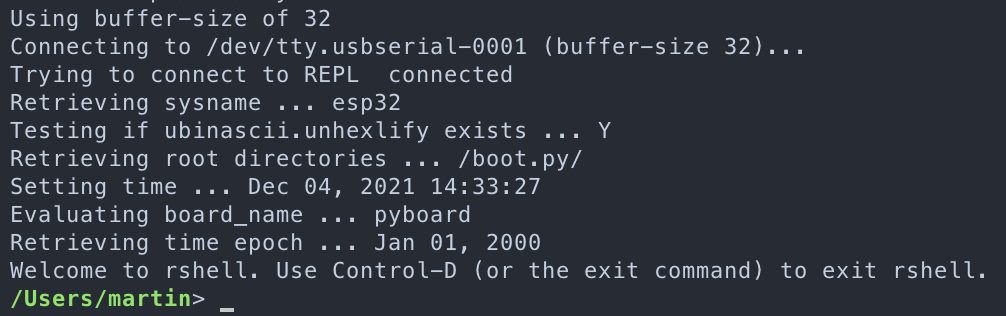 rshell enables you to access the
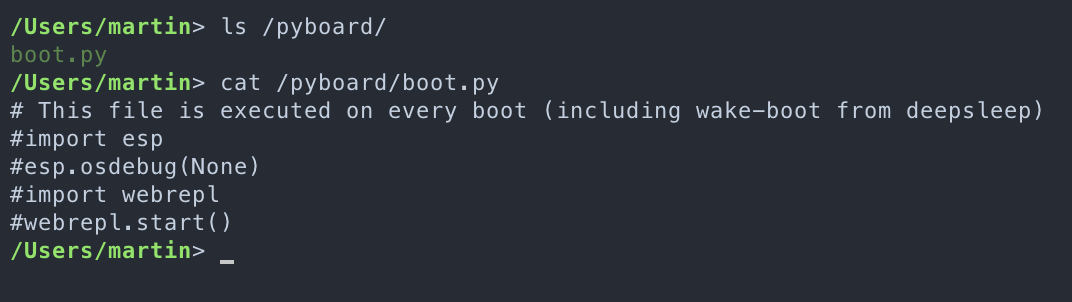
 /pyboard folder which is where the board stores the boot.py file which holds the initial boot code.
To add new python code simply copy over a file called main.py to the root of the /pyboard folder, and that code will be run each time the board gets powered on.
More information regarding the inner workings of MicroPython can be found on the MicroPython docs site.
Lets deploy a basic python script for demonstration purposes:
Create a file on your local filesystem called main.py
Paste the following example code:
1
2
3
4
5
6
import time
count = 0
while True:
  print('Hello, I am your ESP32, I have greeted you {} times.'.format(count))
  count += 1
  time.sleep(1)
Open rshell as before and copy the file to the /pyboard folder
1
cp main.py /pyboard/
Enter the REPL environment (the interactive shell) by typing repl in the rshell environment.
While in the “repl” shell, reset the board by pressing the reset button.
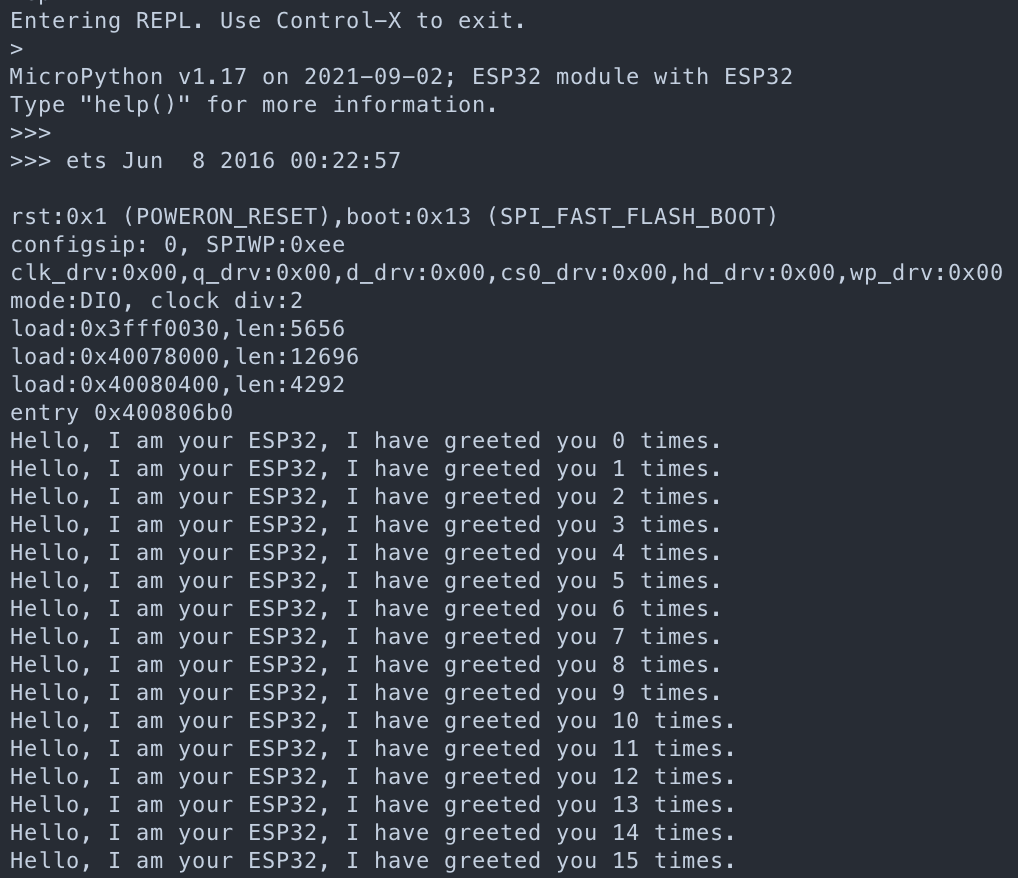 It works!
Connecting the ESP32 to AWS IOT Core.
Open the AWS console and go to the IOT Core service.
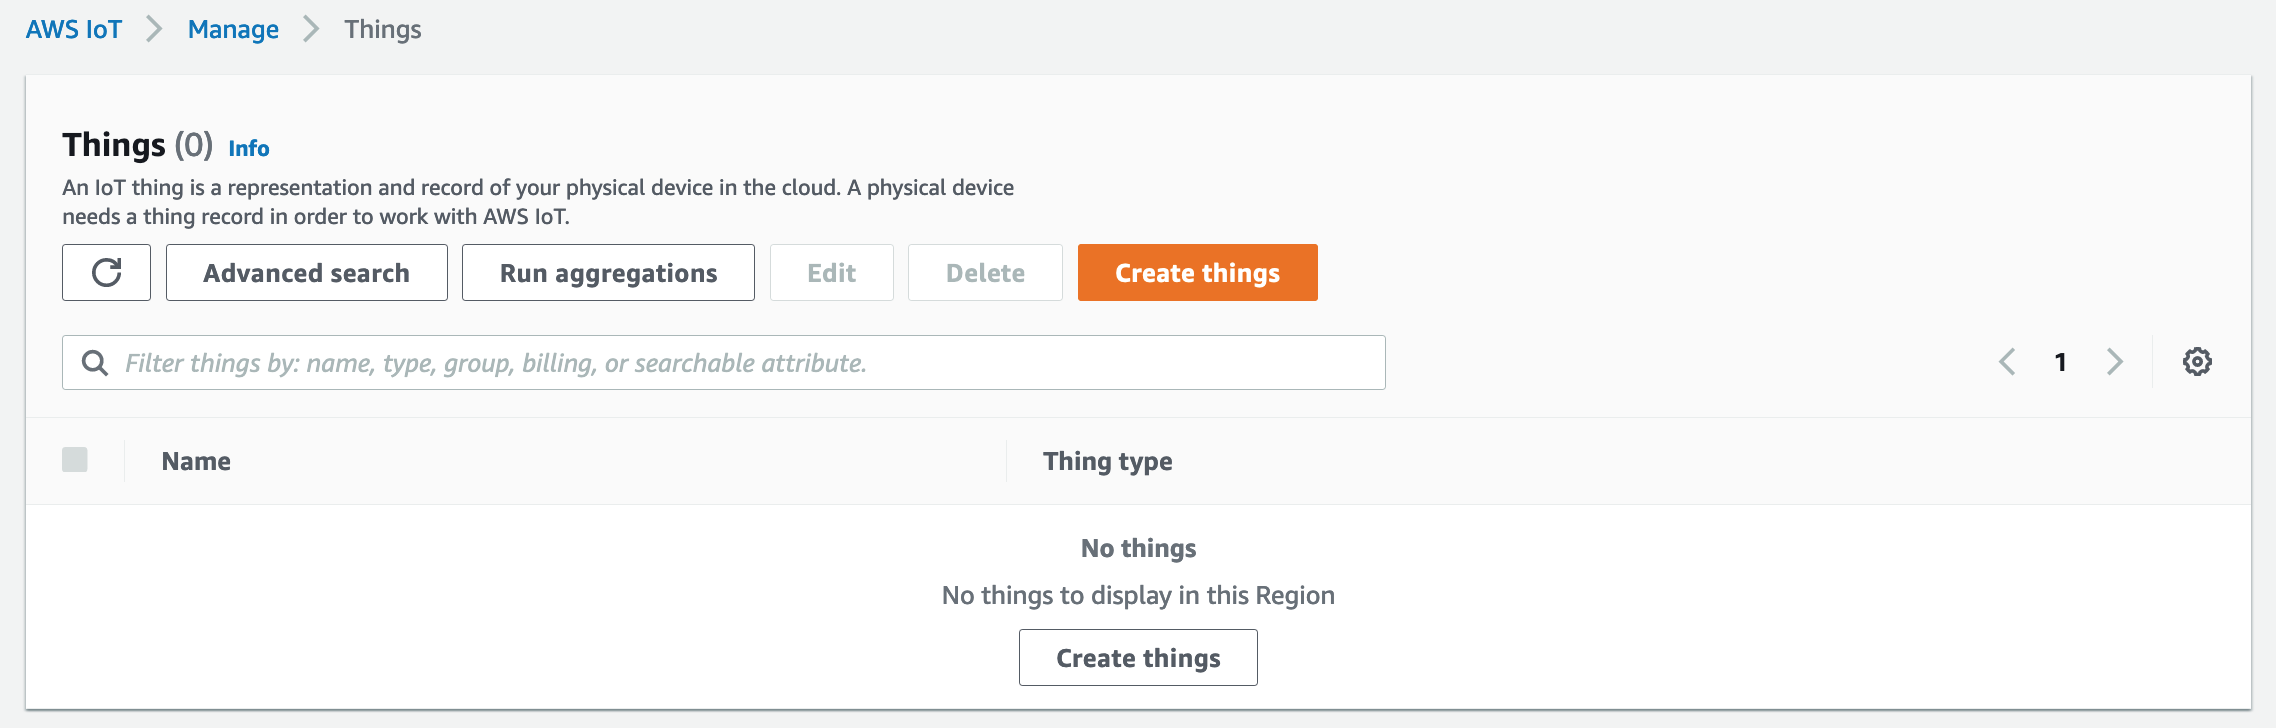 Go to “manage” “things” and click on “create things”
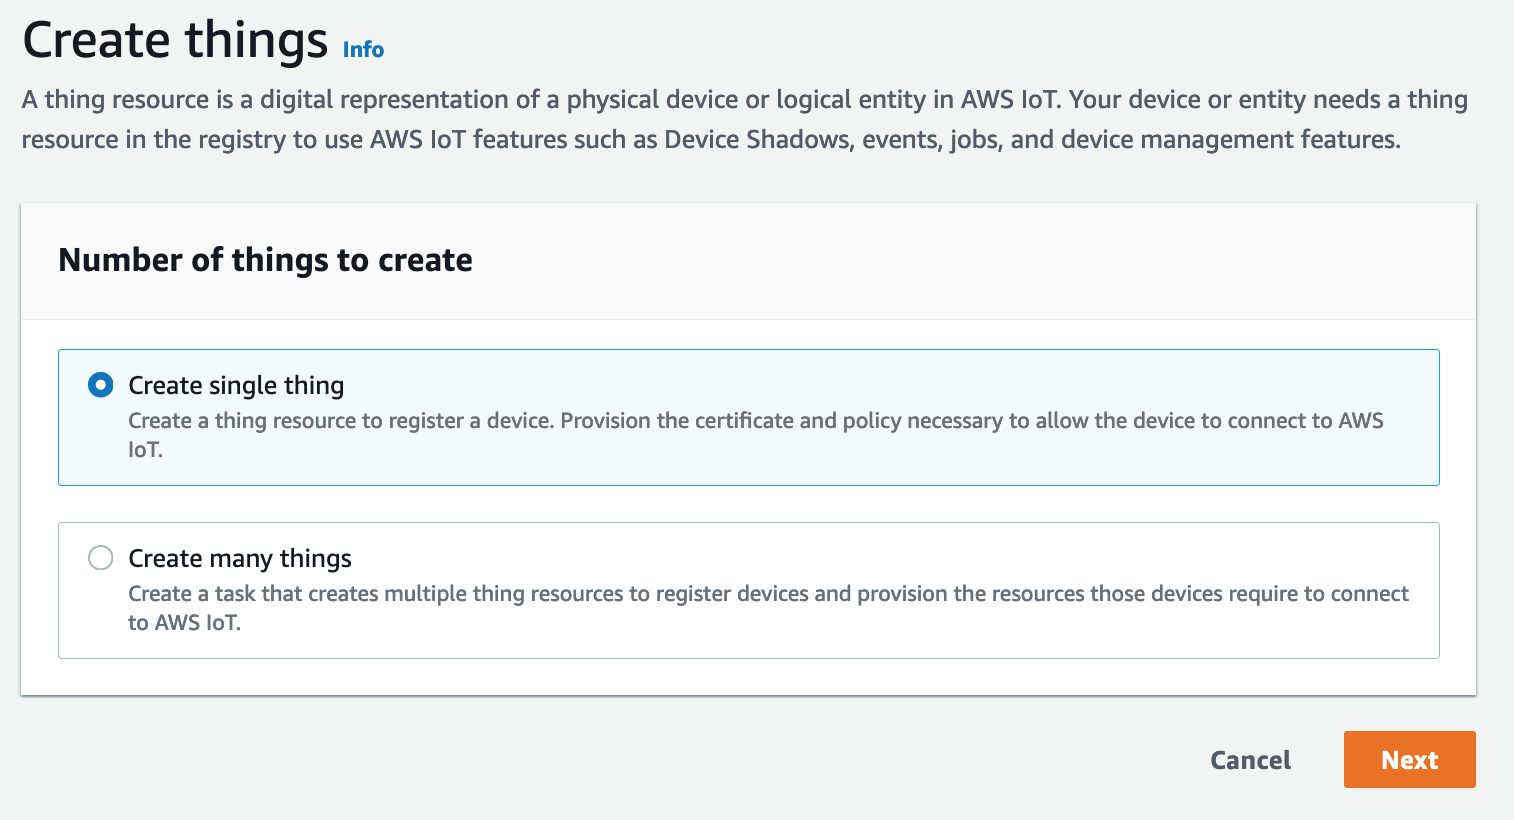 Create a single thing and click next,
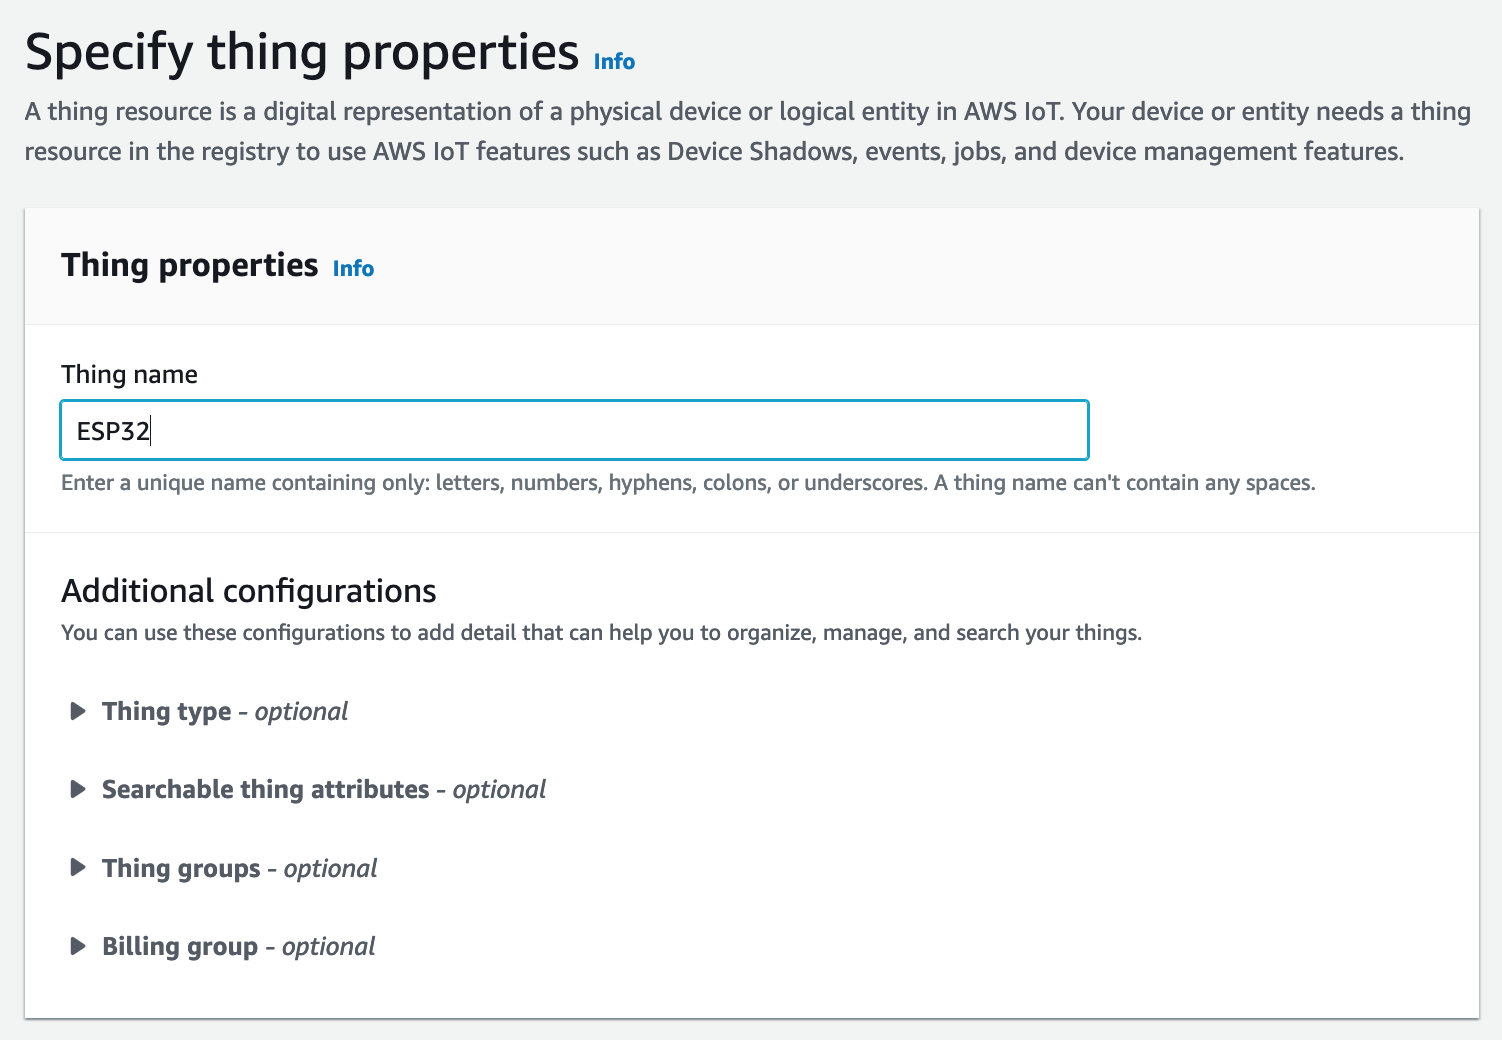 Name the thing, I like simple names so I chose “ESP32”
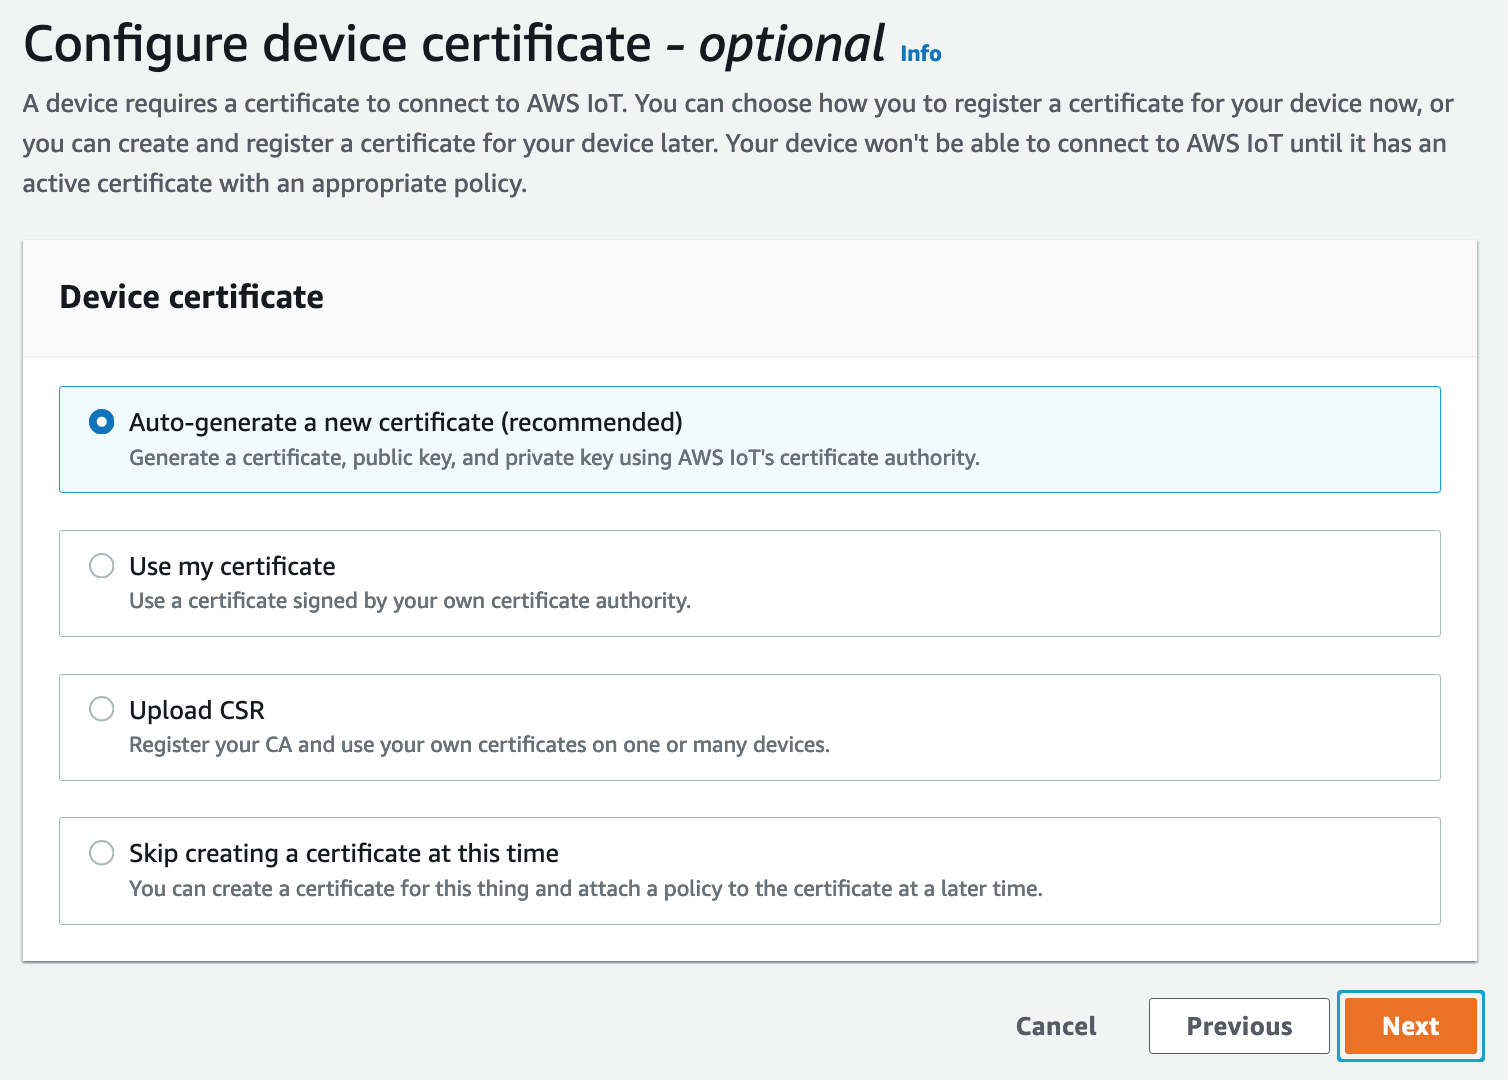 Have it autogenerate a certificate.
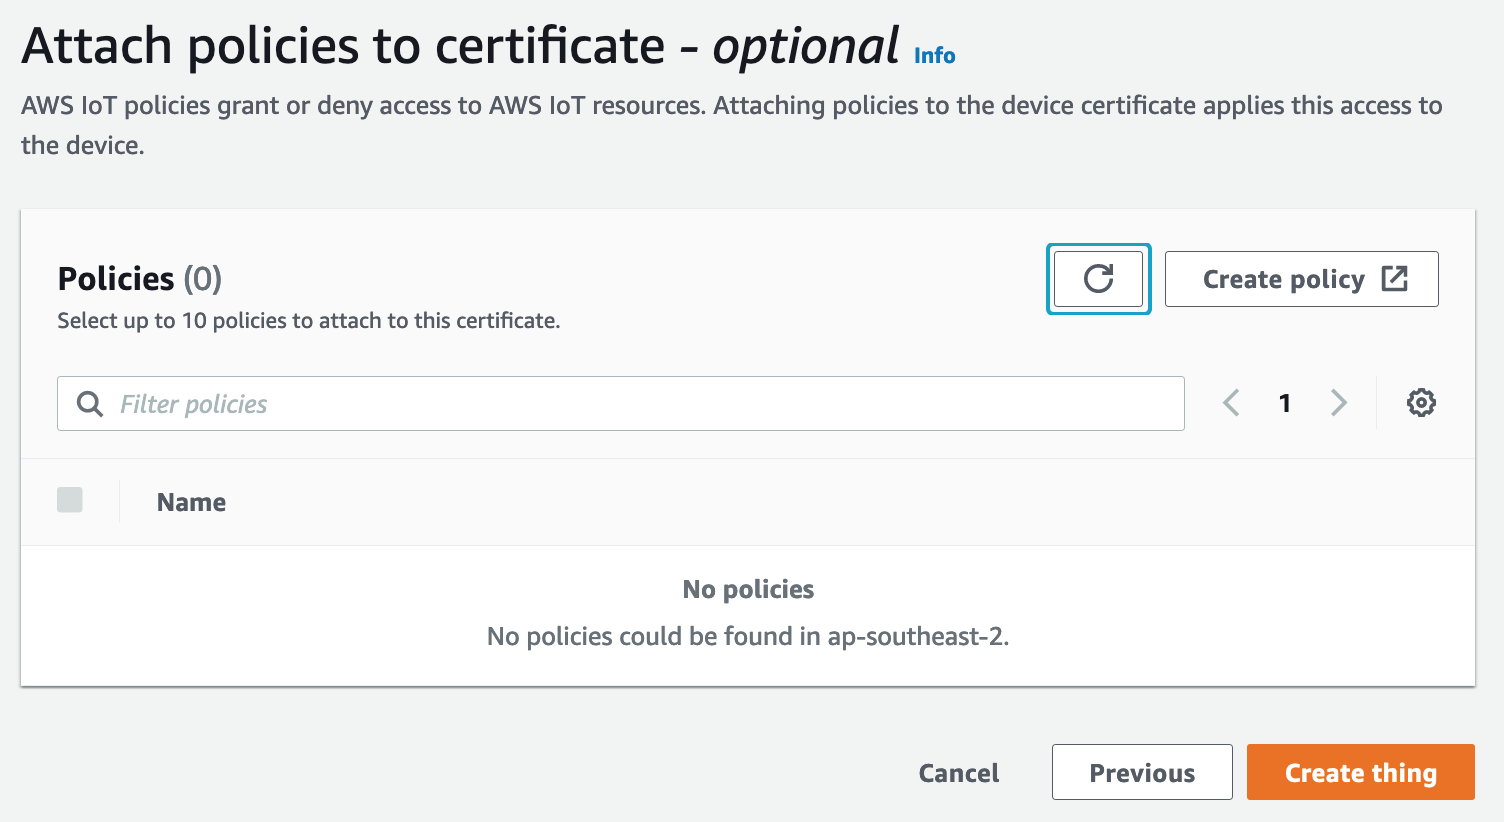 When asked for a policy, click “create policy”
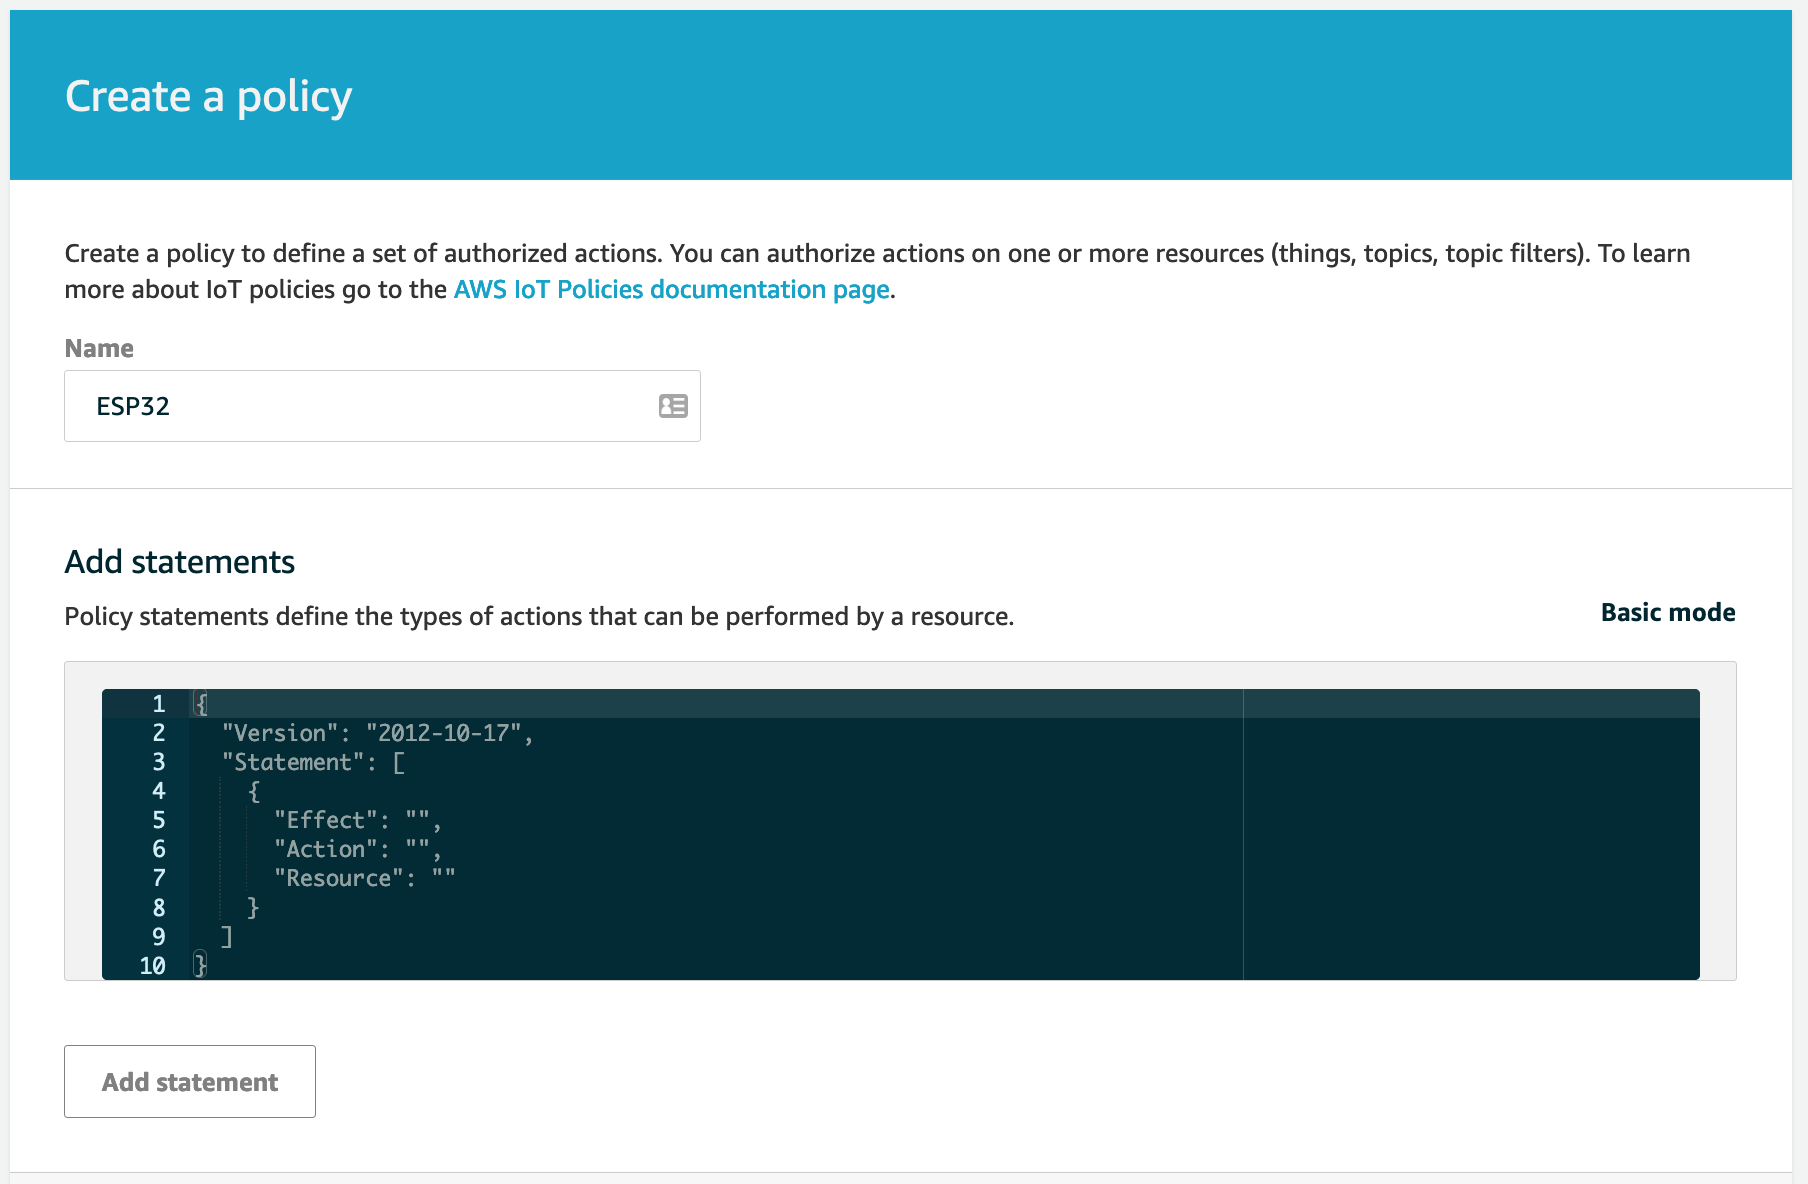 Name the policy something fitting, and click on “advanced”, paste the following policy document replacing the account id with your own.
1
2
3
4
5
6
7
8
9
10
11
12
13
14
15
16
17
18
19
20
21
22
23
24
25
{
  "Version": "2012-10-17",
  "Statement": [
    {
      "Effect": "Allow",
      "Action": "iot:Connect",
      "Resource": "arn:aws:iot:ap-southeast-2:<account-id>:client/ESP32"
    },
    {
      "Effect": "Allow",
      "Action": "iot:Subscribe",
      "Resource": "arn:aws:iot:ap-southeast-2:<account-id>:topicfilter/ESP32/sub"
    },
    {
      "Effect": "Allow",
      "Action": "iot:Receive",
      "Resource": "arn:aws:iot:ap-southeast-2:<account-id>:topic/ESP32/sub"
    },
    {
      "Effect": "Allow",
      "Action": "iot:Publish",
      "Resource": "arn:aws:iot:ap-southeast-2:<account-id>:topic/ESP32/pub"
    }
  ]
}
Attach the newly created policy and click “create thing”
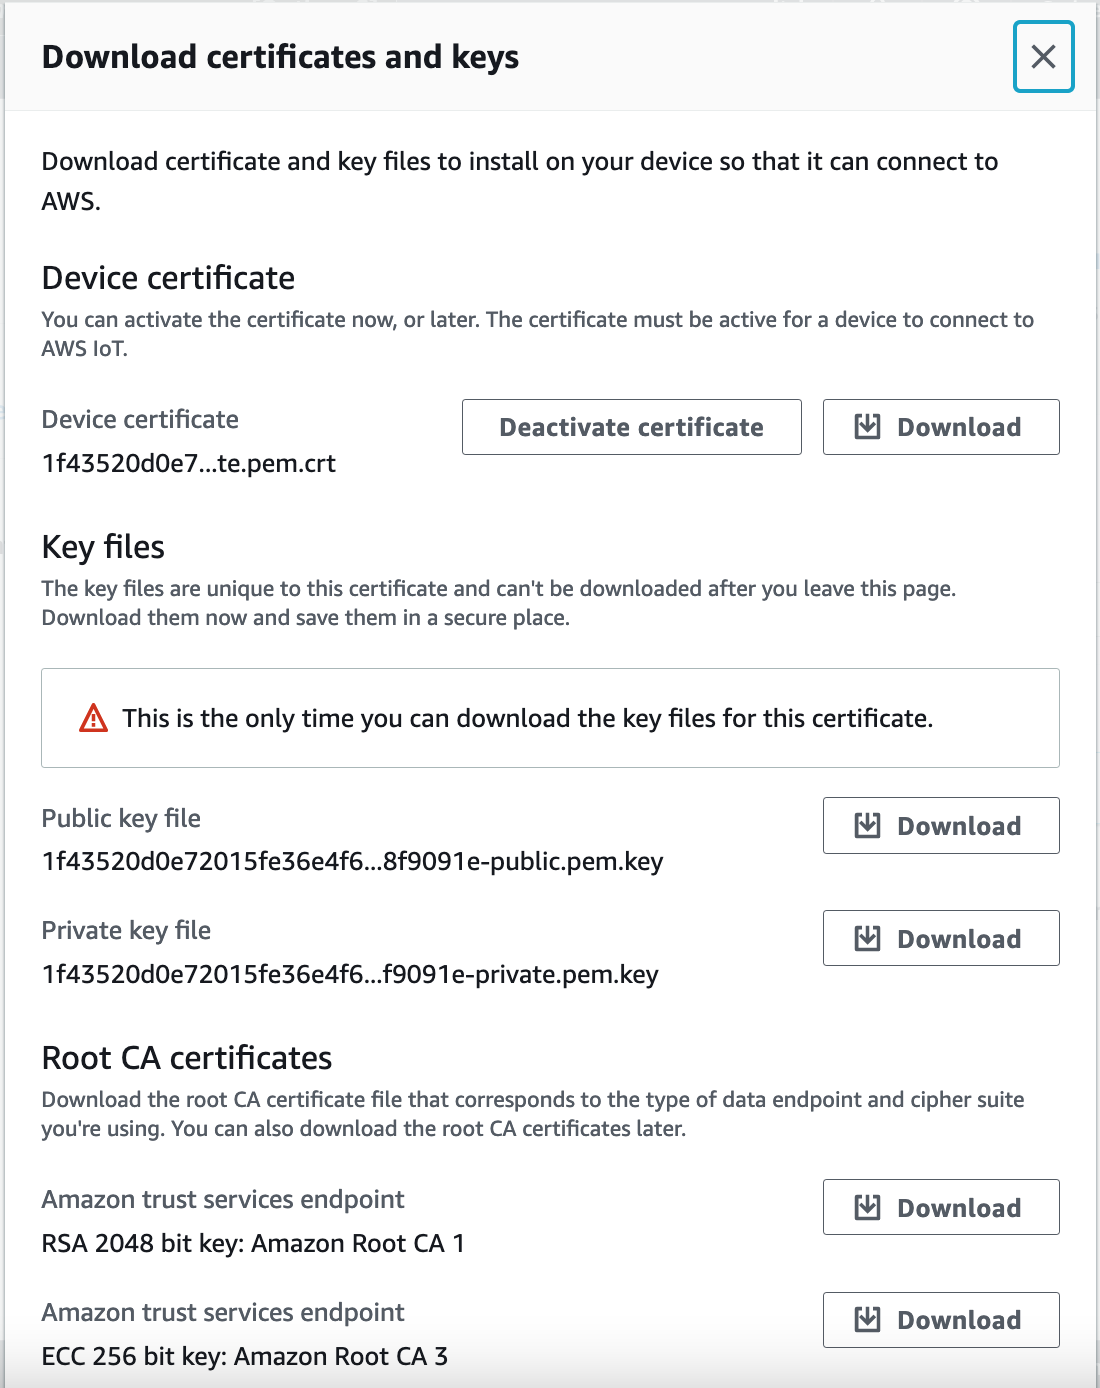 Download the Device certificate, private key file and the Root CA certificate.
Create a new “main.py” file and paste the following code replacing the values [SSID, PASS, THING_NAME, TOPIC, ENDPOINT] with your values.
endpoint can be found in the AWS IOT Core settings,
1
2
3
4
5
6
7
8
9
10
11
12
13
14
15
16
17
18
19
20
21
22
23
24
25
26
27
28
29
30
31
32
33
34
35
36
37
38
39
40
41
42
43
import time
from umqtt.simple import MQTTClient
import json

SSID        = 'myssid'
PASS        = 'mywifipassword'
THING_NAME  = 'ESP32'
TOPIC       = 'ESP32/sub'
ENDPOINT    = 'abcdefghijklmnop.iot.ap-southeast-2.amazonaws.com'
ROOT_CA     = open('./AmazonRootCA1.pem', 'r').read()
CERTIFICATE = open('./certificate.pem.crt', 'r').read()
PRIVATE_KEY = open('./private.pem.key', 'r').read()
SSL_CONFIG  = {'key': PRIVATE_KEY,'cert': CERTIFICATE, 'server_side': False}

def connect_wifi():
  import network
  sta_if = network.WLAN(network.STA_IF)
  if not sta_if.isconnected():
    print('Connecting to network...')
    sta_if.active(True)
    sta_if.connect(SSID, PASS)
    while not sta_if.isconnected():
      pass
  print('Connected to network...')
  print('network config:', sta_if.ifconfig())
def message_callback(topic, message):
  print(json.loads(message))

def connect_iot_core():
  mqtt = MQTTClient( THING_NAME, ENDPOINT, port = 8883, keepalive = 10000, ssl = True, ssl_params = SSL_CONFIG )
  mqtt.connect()
  mqtt.set_callback(message_callback)
  print('Connected to: {}'.format(ENDPOINT))
  mqtt.subscribe(TOPIC)
  print('Subscribed to topic: {}'.format(TOPIC))
  return mqtt

if __name__ == '__main__':
  connect_wifi()
  subscription = connect_iot_core()
  while True:
    subscription.wait_msg()
    time.sleep(1)
Rename the downloaded certificates and keys to match the names in the “main.py” file.
Open Rshel, and copy all the files to the /pyboard folder.

Open the REPL shell and reset the board.
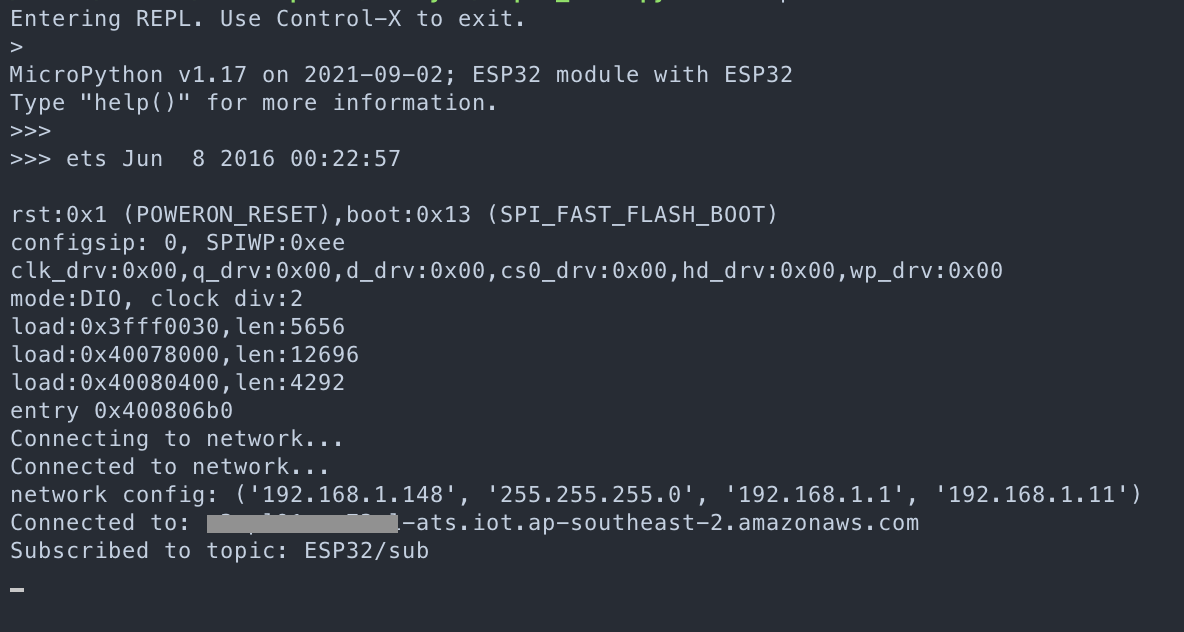
Subscribed to topic!
Go back to the AWS console, and in the IOT CORE service go to “test”
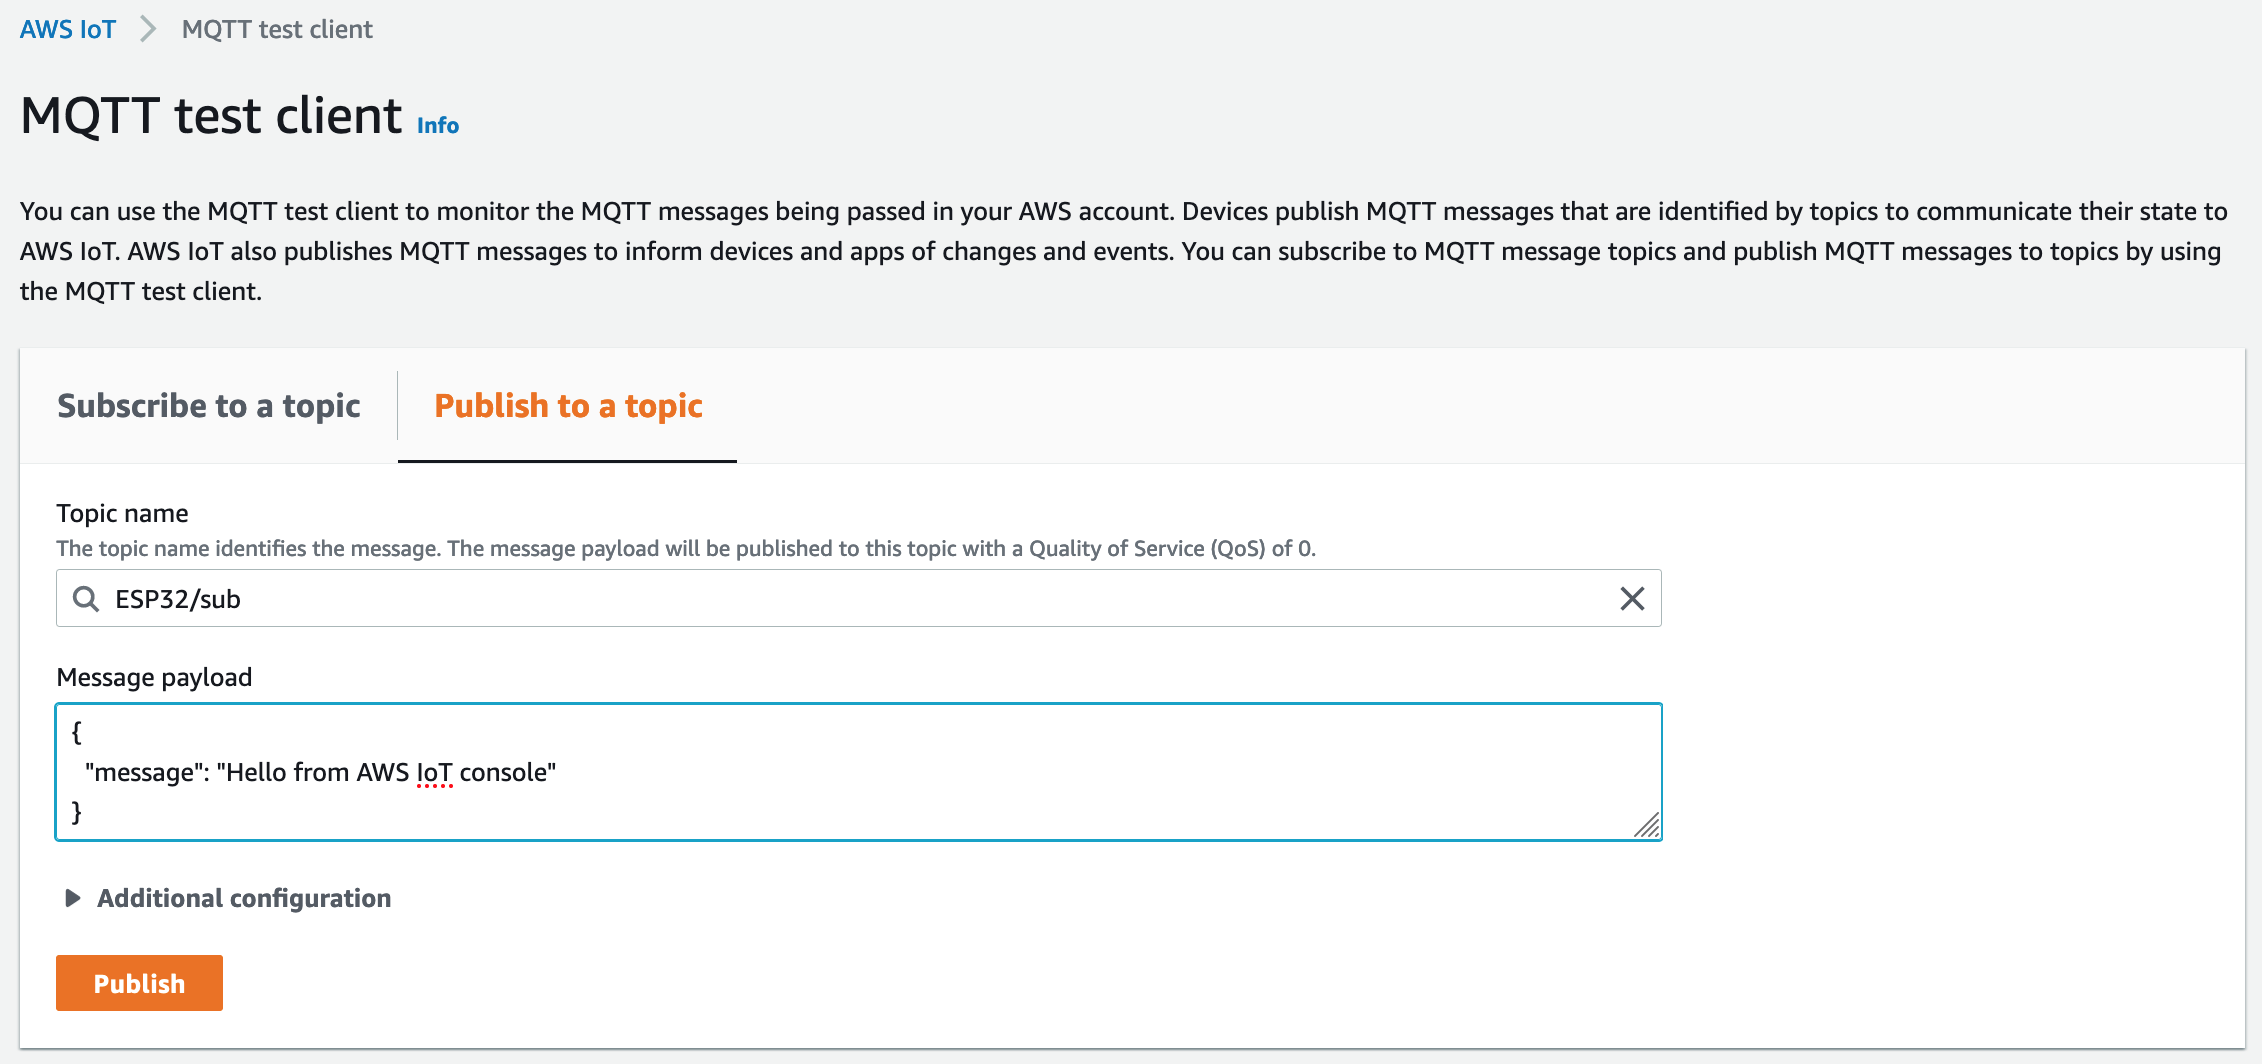
On the test page click on “Publish to a topic” enter the topic name to match the topic name in the code, modify the message if you desire, and click “Publish”
Switch back to the terminal with the rshel repl session, and see if the board received the message.

Now that we have an ESP32 module that is enrolled in the AWS IOT CORE environment the possibilities are endless, stay tuned for my next blog post where I will use the newly enrolled device to do interesting things with neopixels.